Optimizely CMS comes with a package called Episerver.Forms that enables you to incorporate easy to build forms within a CMS website. There is a built in form container that supports standard built in form elements like input fields, checkboxes, radio buttons, select lists, buttons etc. And just like any other feature, Episerver Forms also come with the capability to customize, where you can customize existing elements, or create new ones and more.
In this post, we will talk about adding a custom form element to Optimizely CMS that supports dependencies.
What are dependencies in Forms?
Dependencies are essentially a group of properties added on form elements under a tab, that enable users to make that element dependent on other element(s) based on criteria. Out of the box, this works to show/hide elements based on other elements and is applied to the following elements : Image choice, Number, Range, Selection, Text area, Text, Url, File upload, and Multiple or single choice, Rich text and the Submit button.
Now, what if we were to add a custom form element to our implementation and apply the same dependencies logic to it?
Well, there is a way to achieve this. The properties that support dependencies come from another Interface called IMultipleConditionsElementDependant. So, for starters, you need to have your custom form element inherit from this.

Once you implement that interface, you’ll see the properties list out :

Now this step will ensure you get the tab and properties on the element and can set the right dependency criteria for it.
But is this enough to make this work?
Not quite. The dependency check is like a validation check, which happens when you make a call that can trigger validation for that element.
So in the view for this custom form, you need to make a call to a built in helper method that can trigger the validation :
![]()
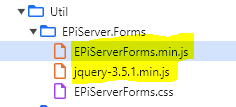
Another thing to add is certain form specific attributes on the element itself, that are internally read by the javascript logic that Episerver Forms have in place to trigger and perform this validation when the above helper is called :

What the helper does now is evaluate the dependencies set on this element and return a string (“” for show and “hide” for hide) and you append that to the css of the element. The internal forms js kicks in to do the actual show/hide of the element based on this cssClass.

So what happens now?
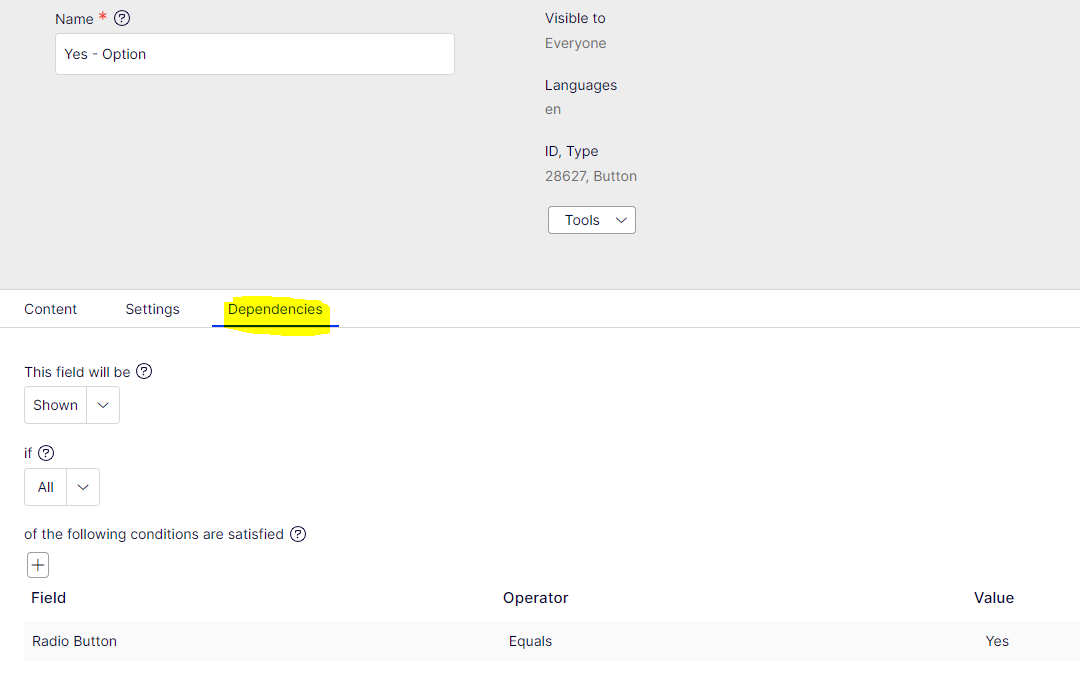
Well, you build this code and when you launch CMS and get to your form, you add this custom element to the form and set the right dependency on it, something like this :

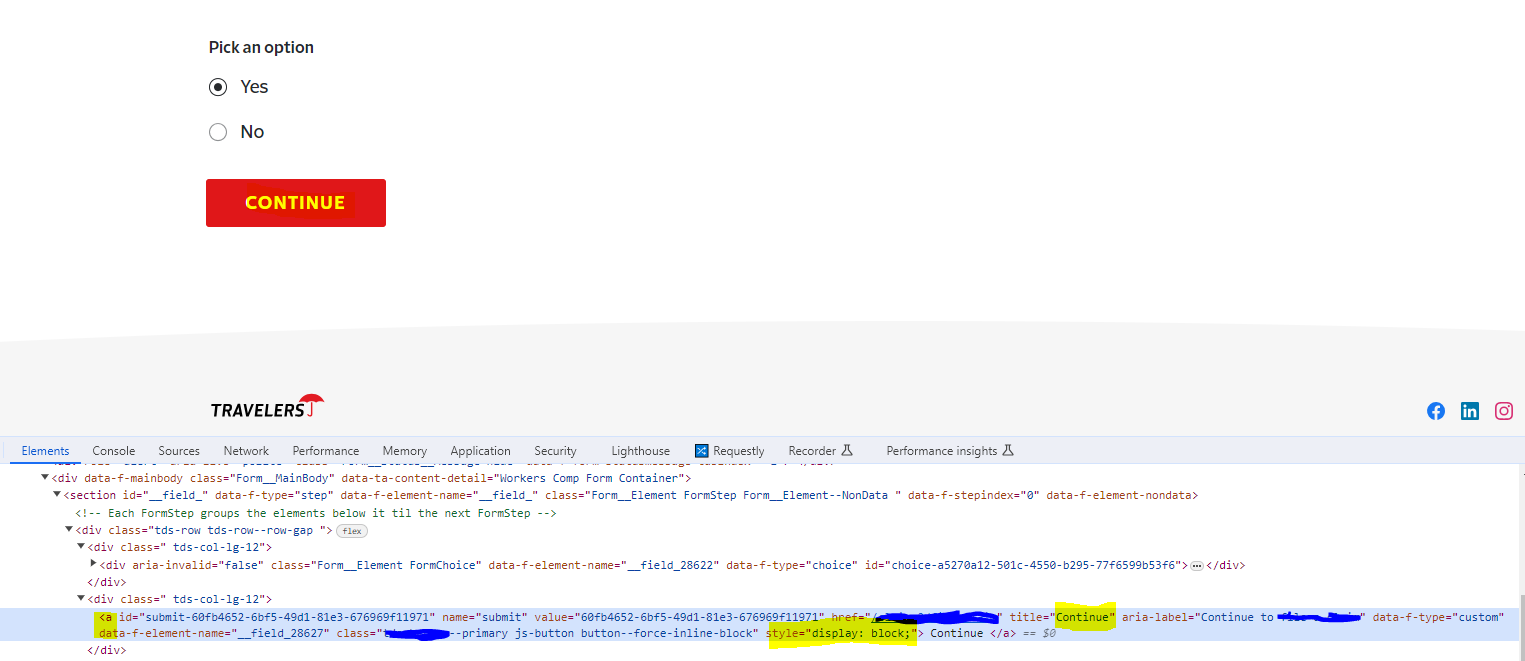
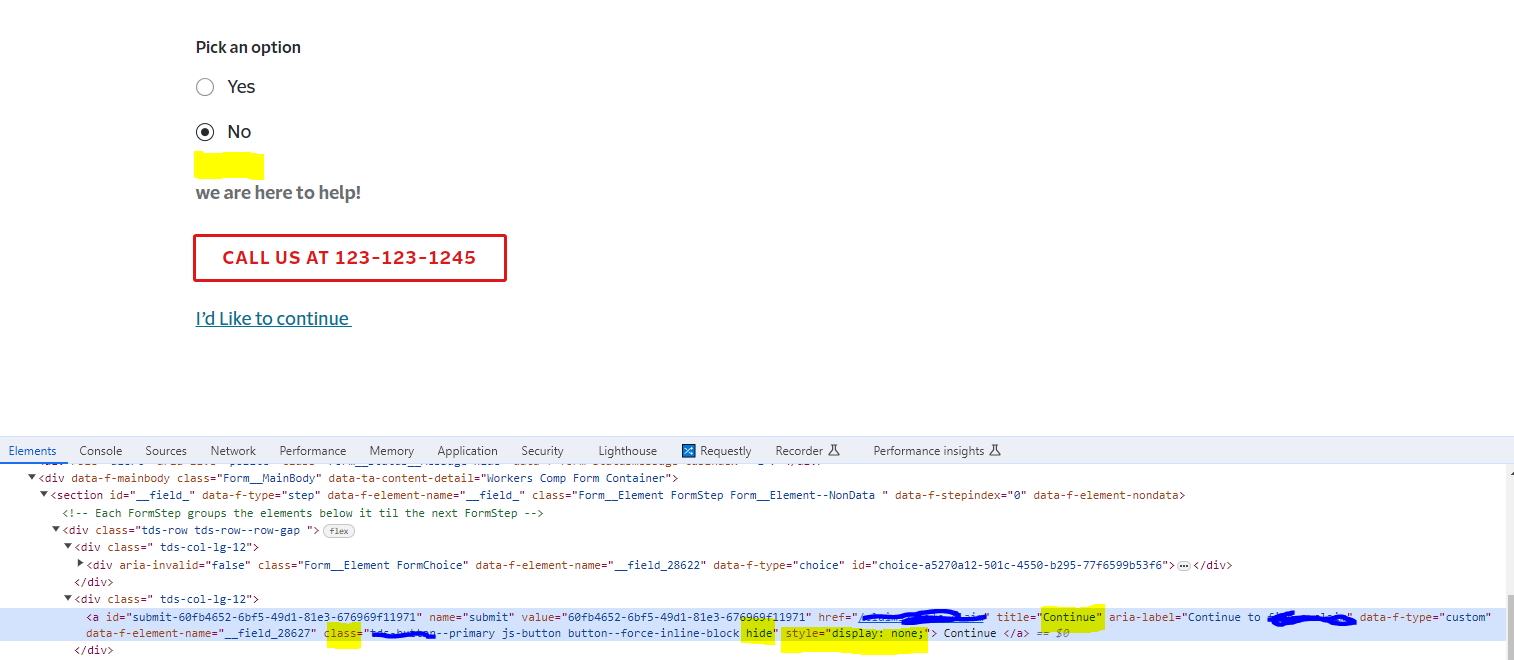
In my case, its looking for a Radio Button element on the form and if its Yes, it will then show this custom element. If its no, then it’ll hide the element and show some RTE content :


We highlighted some attributes when inspecting the custom element in the browser. Notice the “hide” class added from the html helper. Based on this, the EpiserverForms.js puts a style attribute with display:none to the element, in order to hide it. And then when its show time, it updates that style element to display:block.
So, are we done then? Can we call it a day?
Well, almost. One strange behavior that I noticed was that on show time, the style attribute with display:block caused my custom element to span the width of the page. So in order to avoid that, we added a custom css to it, that ignored the style attribute of display:block, by adding the !important tag to it :

Now it’s done. We added a custom element to our form and were able to apply the built in dependency logic to it with minor code changes.
If you are looking for similar custom implementations, I have some more done with TinyMCE and Icon Library.
