By now, you’ve probably heard that Google is transitioning from Universal Analytics (commonly referred to as GA3 or UA) to a new, improved version, Google Analytics 4 (GA4).
Google Analytics 4 differs significantly from the version you’re probably using now (UA). GA4’s data collection capability is incomparable. It lets you get user data from a wide range of platforms, including the web, Android and iOS apps, or other third-party integrations.
Google released the GA4 beta version in 2019 and, since then, it is continuously evolving to deliver the best results. As of July 1, 2023, Universal Analytics will stop collecting data. So, it is essential to migrate to GA4 as soon as possible.
But don’t worry; we are here to help you! We’ve provided a checklist that you can use to troubleshoot any issues during the transition so that you can continue to collect UA data until the expiry ****.
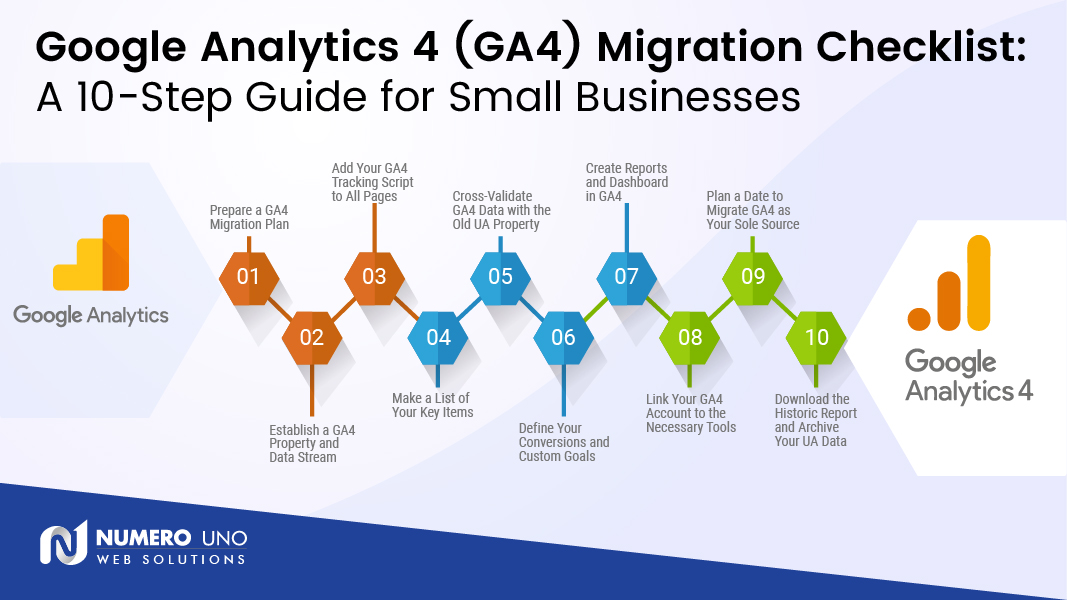
Google’s GA4 Migration Checklist
1. Prepare a GA4 Migration Plan:
2. Establish GA4 Property and Data Stream and add GA4 Code:
3. Add Your GA4 Tracking Script to all Pages:
4. Make a List of Your Key Items:
5. Define Your Conversions and Custom Goals:
6. Cross-Validate GA4 Data With the Old UA Property:
7. Create Reports and Dashboard in GA4:
8. Link Your GA4 Account To The Necessary Tools:
9. Plan a **** To Migrate GA4 As Your Sole Source:
10. Download the Historic Report and Archive Your Universal Analytics Data:
1. Prepare a GA4 Migration Plan
GA4 migration is not an easy task, so you will need to plan and prepare a GA4 Migration Plan. Your GA4 implementor will help you understand the differences between GA4 and GA3 and create a plan to transfer your UA data to GA4.
To gain a full understanding of the migration process and perform a post-migration quality assurance check, it is highly recommended to capture all relevant events, goals, and parameters from Universal Analytics in a spreadsheet or document for reference.
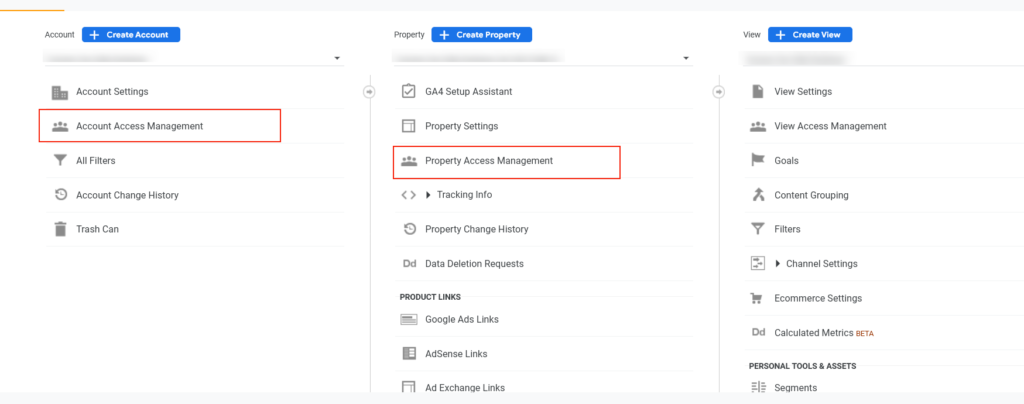
In addition, verifying user permissions twice is essential to ensure that your users have access to GA4 reports before beginning.
2. Establish a GA4 Property and Data Stream
Creating a GA4 property and data stream setup is the most important step in GA4 migration. GA4 has a powerful data collection feature. It allows you to send and collect user engagement data from various sources or data streams such as the web, Android and iOS apps, or other sources. GA4 data streams will replace GA3’s tracking code.
You can find the setup option in your UA property admin section under the property.
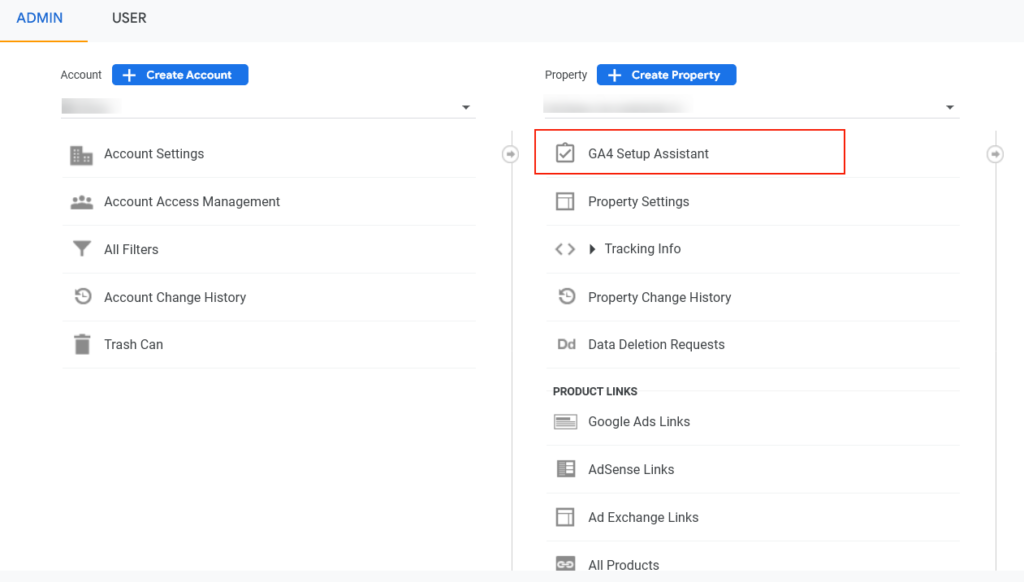
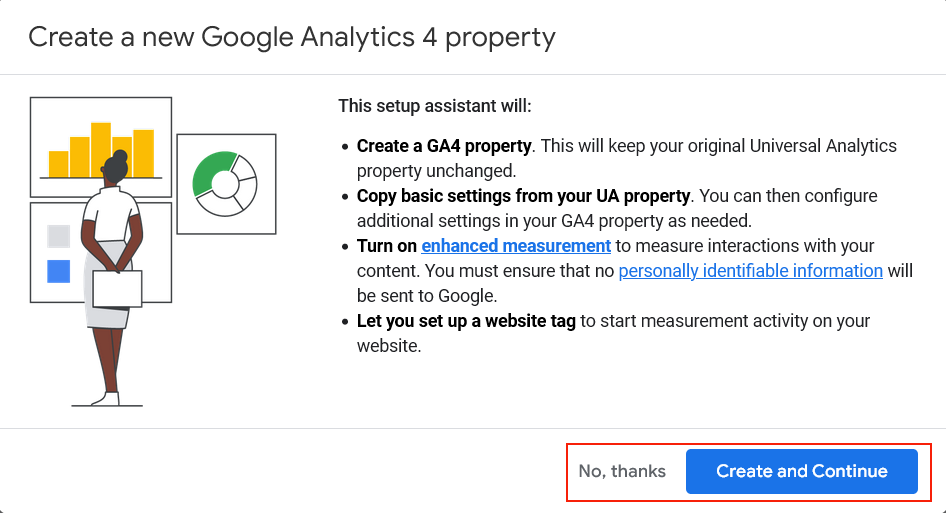
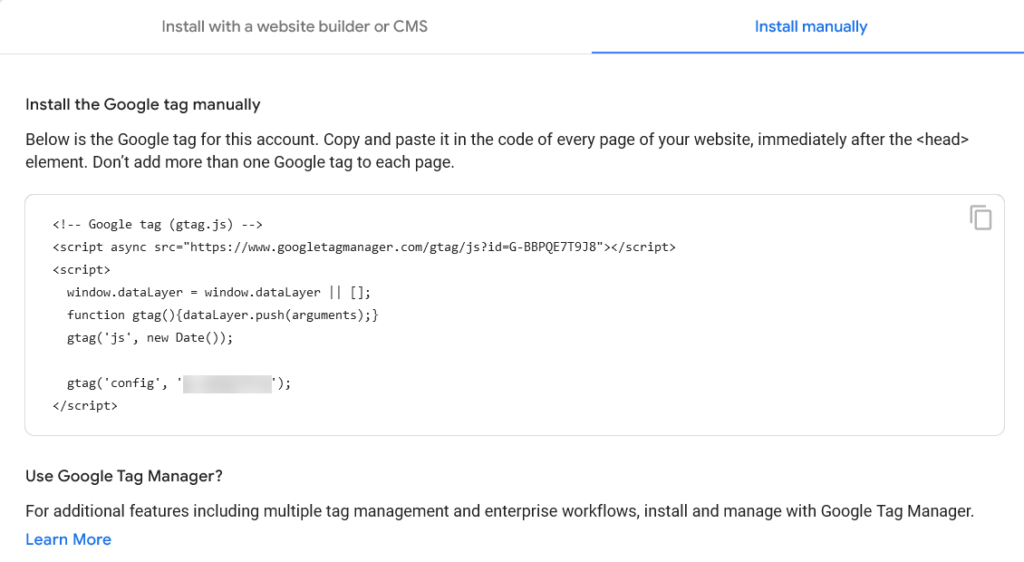
After clicking on Setup Assistant, you can start the process and get the GA4 Gtag code to add to the website or app.
3. Add Your GA4 Tracking Script to All Pages
A GA4 tracking code is different from GA3. GA4 uses Gtag instead of Universal Analytics JavaScript (analytics.js). GA4 also introduces the Global Site Tag (gtag.js) that allows GA4 code snippets to be added and configured at once, instead of individually on each page. Add the GA4 script in the <head> section of your website.
4. Make a List of Your Key Items
It is essential to make a list of UA(GA3) features you are using like UA Events, Goals, E-Commerce Measurement, Content Grouping, and Audience Building. To ensure a successful transition from Google Analytics 3 (GA3) to GA4, it is essential that you replace your events in the property with new ones within GA4. This will allow for smooth data collection and interpretation moving forward.
- Events
- Goals (Conversions)
- Content Groupings
- Custom Dimensions/Metrics
- Referral Exclusions
- Filters
- Audiences
With GA4, you have the power to transfer events and user data from your UA property. In addition, this software also enables you to bring over GA3 goals and custom dimensions into your new GA4 environment.
Audiences can be transferred as well; however, keep in mind that Content Groupings and Filters cannot be imported from the previous version of Google Analytics (GA3).
5. Define Your Conversions and Custom Goals
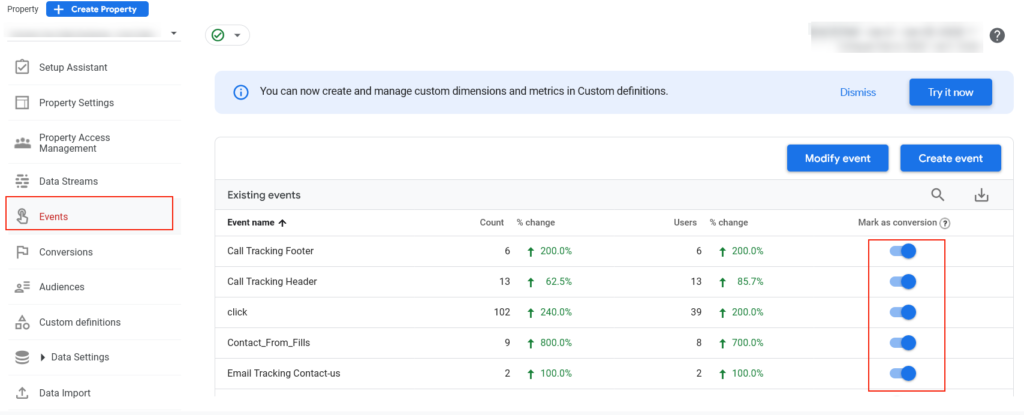
GA4 allows you to create custom goals and send events with the GA4 configuration tag. GA4 also introduces a new feature called Events that allow you to define your own conversions, as well as measure user engagement on specific pages of your website.
6. Cross-Validate GA4 Data with the Old UA Property
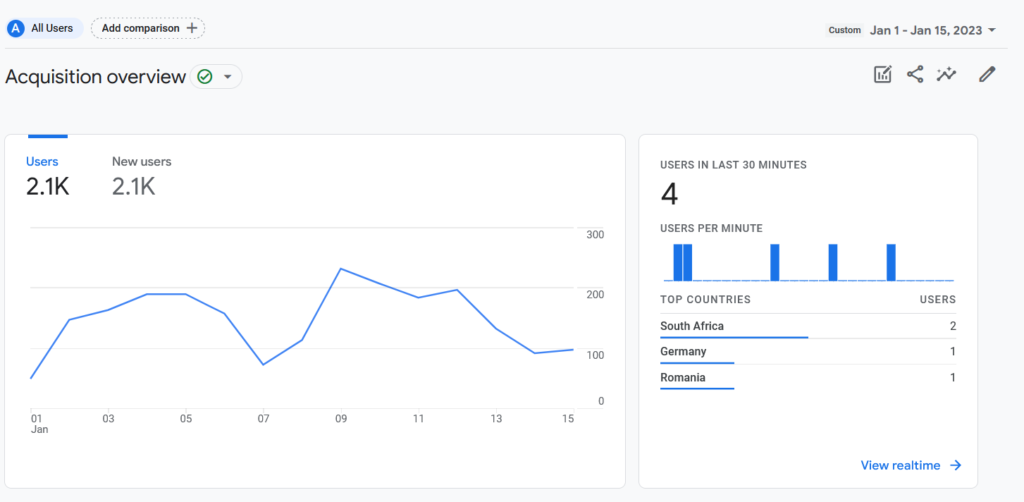
Once GA4 is set up correctly and after a few days, your GA4 data should be populated. Now it’s time to review the GA4 reports against the old UA property. This helps ensure that everything is being tracked properly and you can begin comparing GA3 (UA) data with GA4 data to determine any discrepancies.

7. Create Reports and a Dashboard in GA4
GA4 offers comprehensive custom reports, named Explorations, that can answer virtually any business question. This feature helps organize your reports into collections and topics in the report navigation. Users need to click Reports in the left navigation bar on their screen for immediate access.
To make the most of this feature we suggest introducing Explorations for common inquiries you need to address on a consistent basis. After validating your GA4 data, these tools will prove especially useful! With this level of personalization, all relevant reports will be right at your fingertips!

8. Link Your GA4 Account to the Necessary Tools
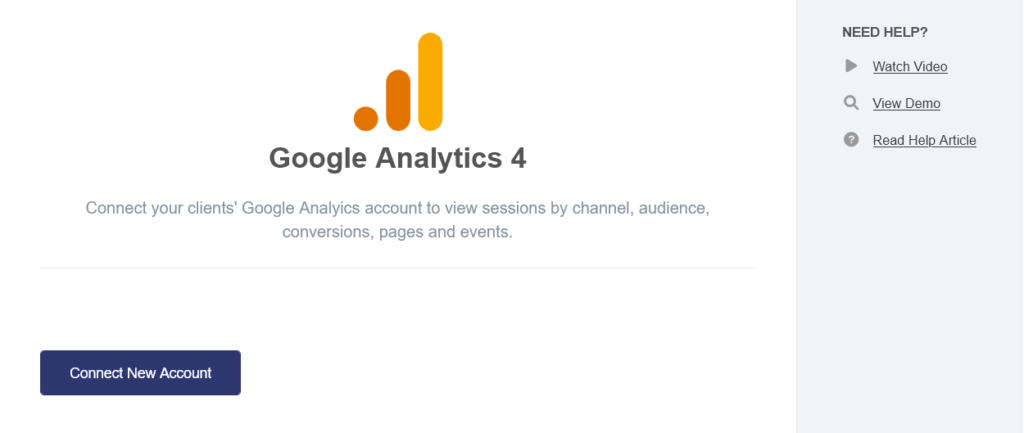
GA4 supports the same linking features UA did. This includes Google Search Console, Google Ads, Google BigQuery, and other third-party analytics tools like SEMrush and Agency Analytics. Once GA4 is set up correctly, you are now able to link your GA4 account to these services just like you would have with GA3 (UA).
9. Plan a **** to Migrate GA4 as Your Sole Source
Scheduling a **** helps you plan ahead and gives you the time to prepare for the GA4 migration without feeling rushed. Once GA4 is added to your data layer, it’s time to make GA4 your sole source of analytics data officially. This will ensure that all future website traffic gets tracked properly and any GA3 (UA) reports are synchronous with GA4.

10. Download the Historic Report and Archive Your UA Data
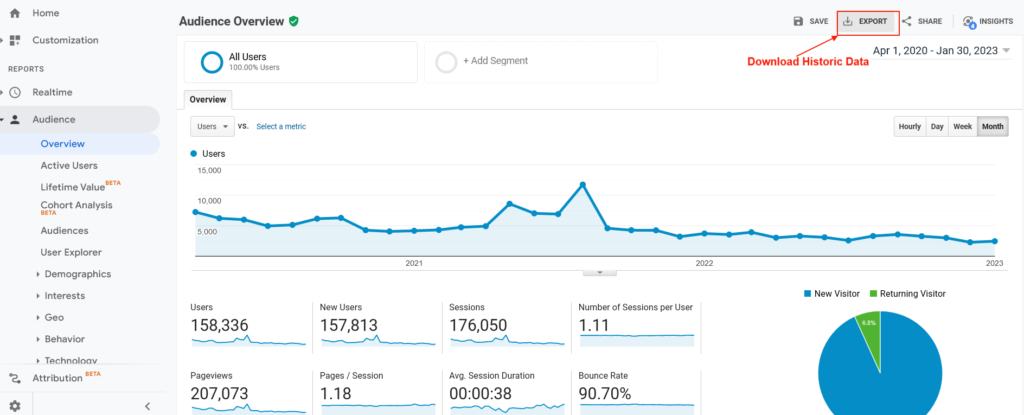
Before Google shuts down UA (GA3), you should also download your historic data from the GA tool as GA4 is not going to provide any of it. Also, GA4 does not allow for retroactive analysis, so you will need to ensure that any GA3 (UA) reports are archived safely.
How to Add Your GA4 Tag Configuration in Google Tag Manager
The GA4 configuration tag is a powerful tracking script that captures page views, along with other built-in events. It also serves as the gateway to send all custom events from Google Tag Manage into your GA4 account. For businesses using Google Tag Manager (GTM) here are some steps to follow:
- Copy the Measurement ID from GA4: To locate your Measurement ID in GA4, head to Property Settings in the Admin tab and click on Data Streams. Identify your preferred stream from the list of options available, then inspect its Stream Details for a string labelled as Measurement ID. Copy this code exactly as it appears before continuing on with other processes.

- Add a GA4 Config tag in GTM: To get started in GTM, select the option to add a new tag. Once you’ve done that, choose “Google Analytics: GA4 Configuration” from the Tag Type drop-down menu.
- Paste your Measurement ID: Paste the Measurement ID you recently copied from your GA4 account’s Data Stream into the “Measurement ID” field.
- Send Page View Events from This Tag: Ensure that page view events are sent to your new GA4 account by ticking the “Send a page view event when this configuration loads” box.
- Name the Tag: Let’s label this tag as “GA4 Configuration” for easy reference.
- Add a Trigger That Fires on All Page Views: To ensure that this tag fires on all pages, let’s add a Page View trigger to deploy across our website.
Following the GA4 migration checklist and step-by-step guide outlined above is an essential part of a successful GA4 migration. With the GA4 migration checklist, you have all the right pieces in place to make sure that GA4 is properly configured and ready to go.
