What Is An HTML Redirect?
An HTML redirect, also known as a meta redirect or a meta refresh redirect, tells the visitor’s web browser to send users from one webpage to another.
HTML redirects can either be instant or delayed.
Instant redirects happen immediately. Delayed redirects happen after a specific number of seconds (set by the website owner).
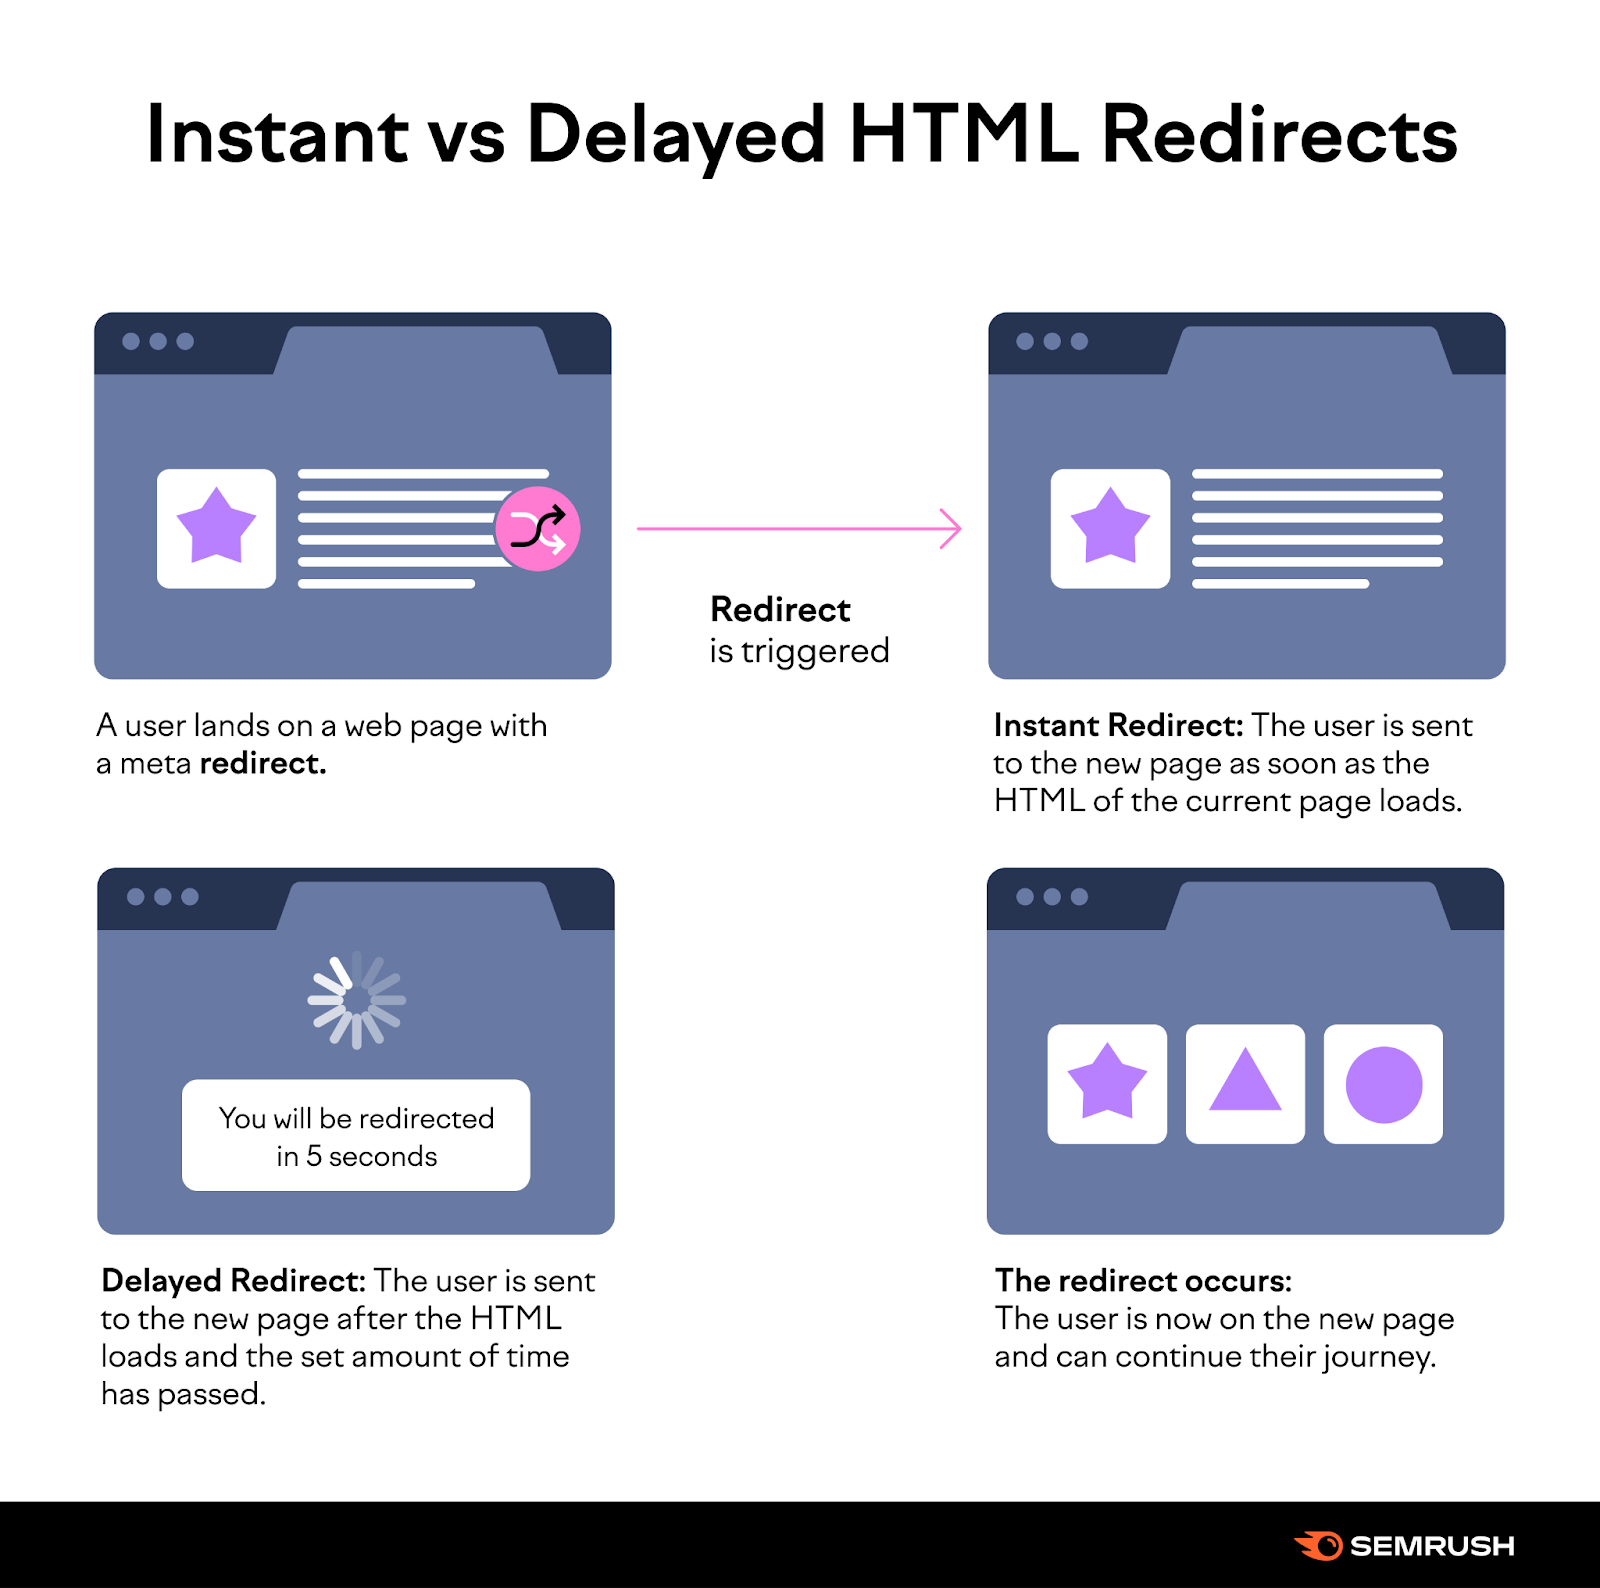
Here’s how it works:
- A user lands on a webpage with a meta redirect
- The redirect is triggered in one of two ways:
- If the redirect is instant, the user is sent to the new page as soon as the HTML of the current page loads
- If the redirect is delayed, the user is sent to the new page after the HTML loads and the set amount of time has passed
- The redirect occurs, and the user is now on the new page and can continue their journey
Why Use an HTML Redirect
HTML redirects can be convenient to implement since they’re set within the HTML of a webpage. You don’t need access to server files—like the .htaccess file—to implement one.
They can be useful when you’re doing maintenance on a page and need to redirect users to a temporary page. Or when you no longer want to use a page and need to send users somewhere else permanently.
Other types of redirects—like server-side redirects—may require you to access your server files. Which can be challenging (although plugins often make this much easier).
Although HTML redirects can be convenient, there are a few reasons to avoid them:
- They might not work properly on older browsers and lead to a poor user experience
- Since the HTML of the old page needs to load before the redirect occurs, they can be slow and frustrating to users
- They don’t pass along as much link equity (from the original page) as other types of redirects which can affect your SEO
- Delayed HTML redirects can present accessibility issues for people with screen readers or people who are unable to read text quickly
- Since you need the HTML of the first page, you can’t permanently delete any of the pages you want to redirect and must keep them up and running. This isn’t ideal if you want to reorganize your site’s structure.
How to Redirect a Page to Another Page in HTML
To add a redirection in your HTML, paste the below code into the <head> section of the page you want to redirect (and replace the URL value):
<meta http-equiv="refresh" content="3; URL=https://www.yoururl.com/newpage" />
In this code:
- http-equiv=“refresh” tells the browser to redirect the page
- content=“3; tells the browser how many seconds to wait before refreshing the page. In this example, it’s three seconds. To make it an instant redirect, set it to “0.”
- URL=“URL=https://www.yoururl.com/newpage” tells the browser which URL to send users to
Just make sure you’re careful when choosing between an instant and a delayed redirect. Google interprets instant redirects as permanent (meaning you don’t plan to use the redirected page again) and delayed redirects as temporary.
HTML Redirect Best Practices and Examples
1. Avoid Redirecting to Redirected Pages
Redirecting to a page that already has a redirect is known as a redirect chain.
Imagine you land on a website, and shortly after getting there, it redirects you to a new page. And then that page redirects you to a new page …
Sounds frustrating, right?
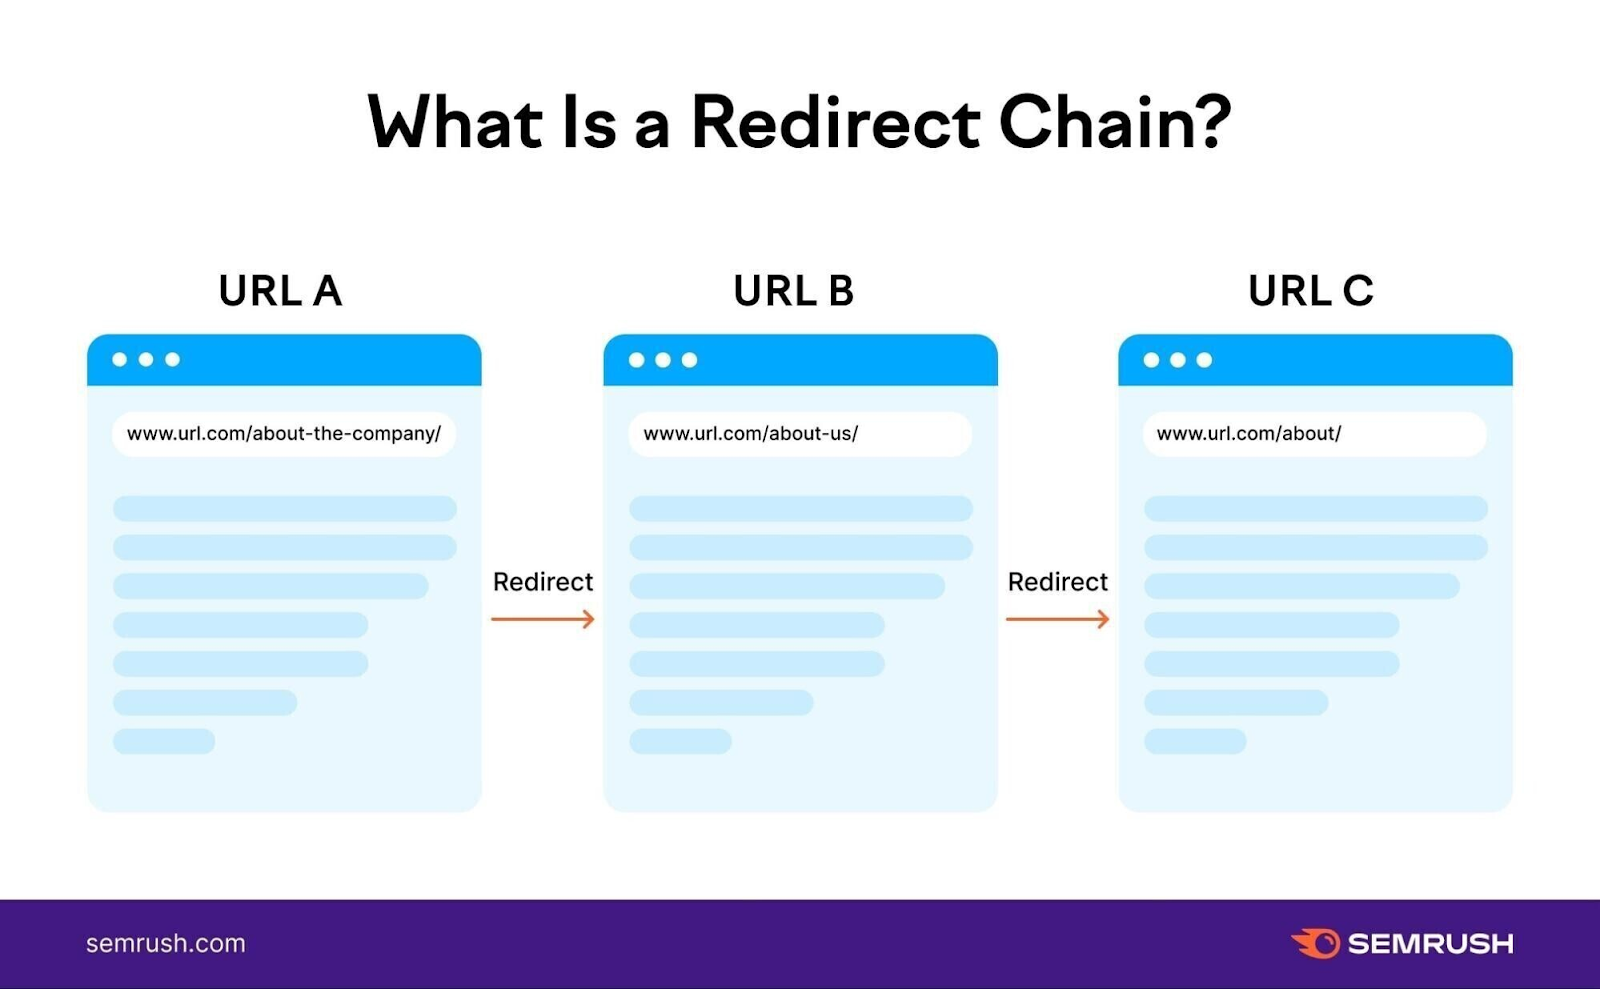
Not only is this annoying for users, it’s also bad for your SEO.
You can easily avoid redirect chains—and keep users happy—by sending traffic to pages that don’t have any redirects configured.
2. Redirect to a Relevant Page
When possible, send users to a relevant page to decrease the chance of them leaving your site altogether.
Users land on your page because they have a need.
Maybe they want to learn more about your business, contact you, or make a purchase.
Try to determine that need and redirect users to a similar page.
For example, let’s say you sell shoes and have a product page for purple sneakers. One day, you sell out of purple sneakers and need to direct traffic elsewhere temporarily.
Which product page makes more sense: another sneaker page or a page for high-heels? Probably the sneaker page.
By sending traffic to a relevant page, you’re meeting users where they are so they can continue their journey.
3. Tell Users Why You’re Redirecting Them
When you set a redirect in HTML, your HTML needs to load before the redirect occurs.
Even if you set an instant redirect, if your user’s internet is slow, they could still see a portion of the initial page before they’re redirected.
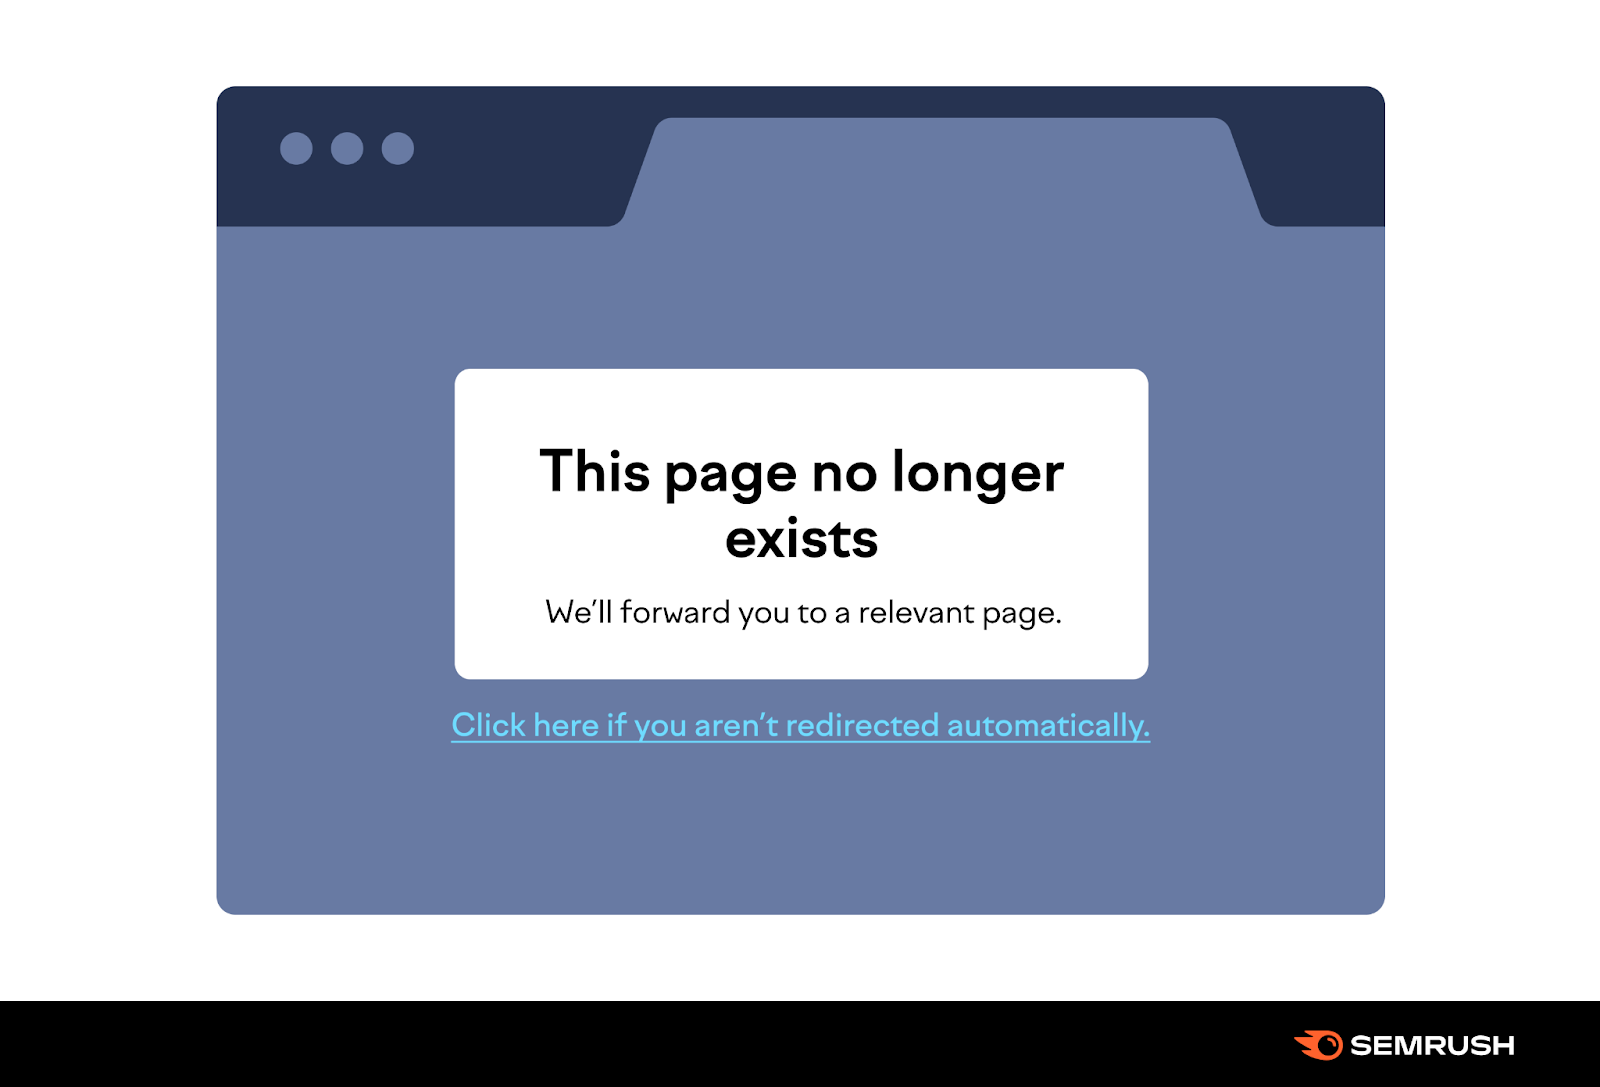
Instead of showing them a blank page, add a blurb so they know why you’re redirecting them.
Just be sure the copy you include on the page is short and easy to read. Aim for 20 words or fewer. This way, users can quickly read about the redirection before it happens.
4. Include a Link to the New Page
Older browsers may not support HTML redirects, which means if someone lands on your page, they won’t get redirected to the new one.
Whether your redirect is delayed or instant, include a link to the new page so users can click onward if the redirect doesn’t work.
This way, you don’t need to worry about losing any traffic and can ensure visitors end up at the right spot.
5. Ensure Delayed Redirects Are Timed Properly
Make sure your redirects aren’t too long or too short. Five seconds is usually sufficient.
If a delayed redirect takes too long, you risk users bouncing—and those users may never end up on your site again.
And if users have to read a message, but the redirect is too short, they might feel just as frustrated.
Test your delayed redirect to make sure it’s not too long—or short.
Better Alternatives to HTML Redirects
301 and 302 redirects are faster than HTML redirects, are less likely to hurt your SEO, and have less impact on the user experience on your site.
Here’s when to use each one:
301 Redirects
301 redirects are permanent redirects that tell search engines you’ve moved content to a new URL.
Use these when you:
- Want to direct users from HTTP to HTTPS
- Merge two pages together
- Delete a page and replace it with something else
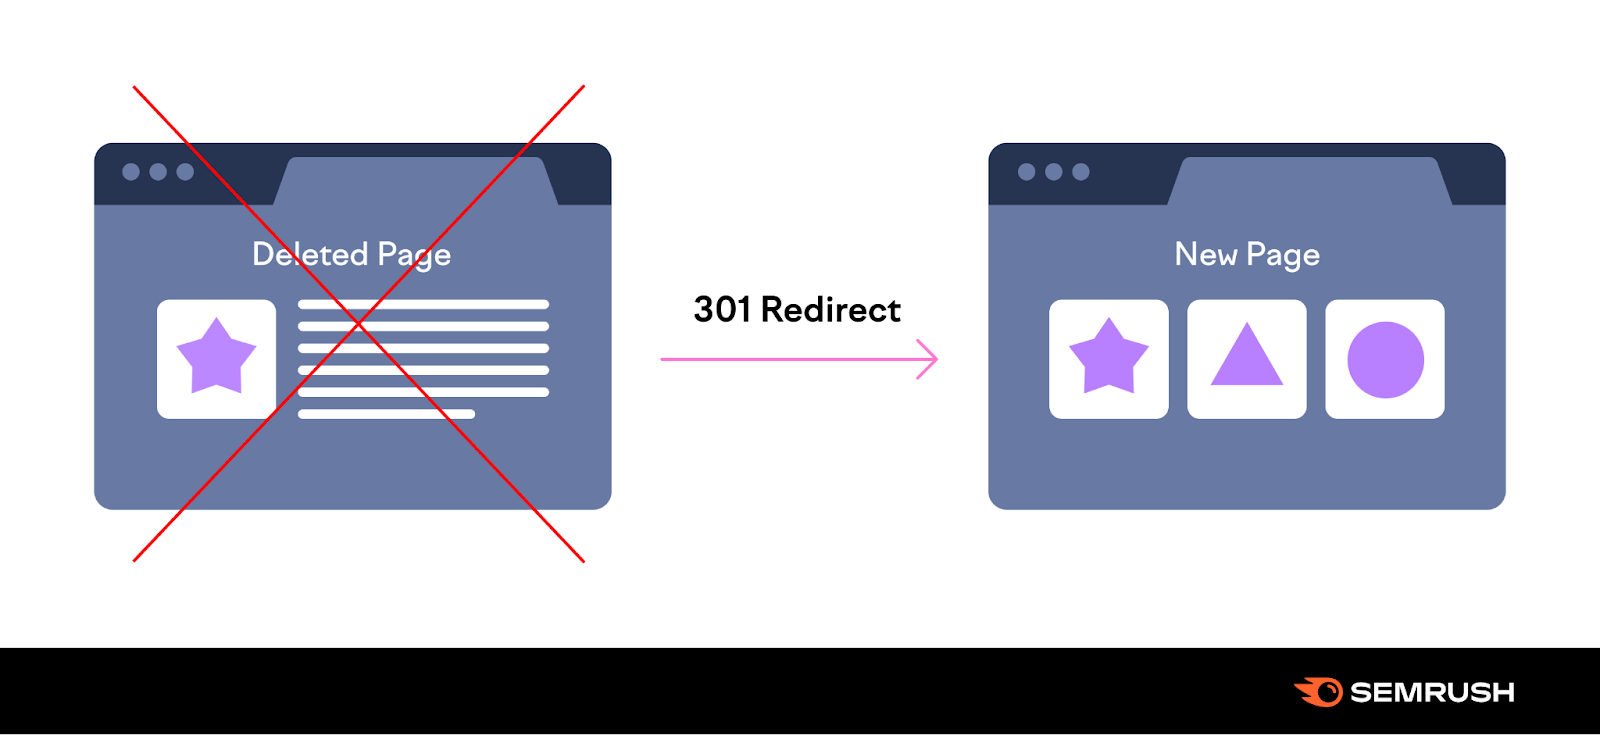
With a 301 redirect, you’re telling search engines the old page no longer exists.
This way, you pass on much of the link equity from the old page to the new page. And search engines know to update the old link with the new one in the search results.
302 Redirects
302 redirects are temporary redirects.
They’re useful if you need to redirect users for a certain period of time. Like when you need to perform page updates or want to run an A/B test.
For example, you can implement a 302 redirect for a landing page to test which call-to-action copy results in more conversions.
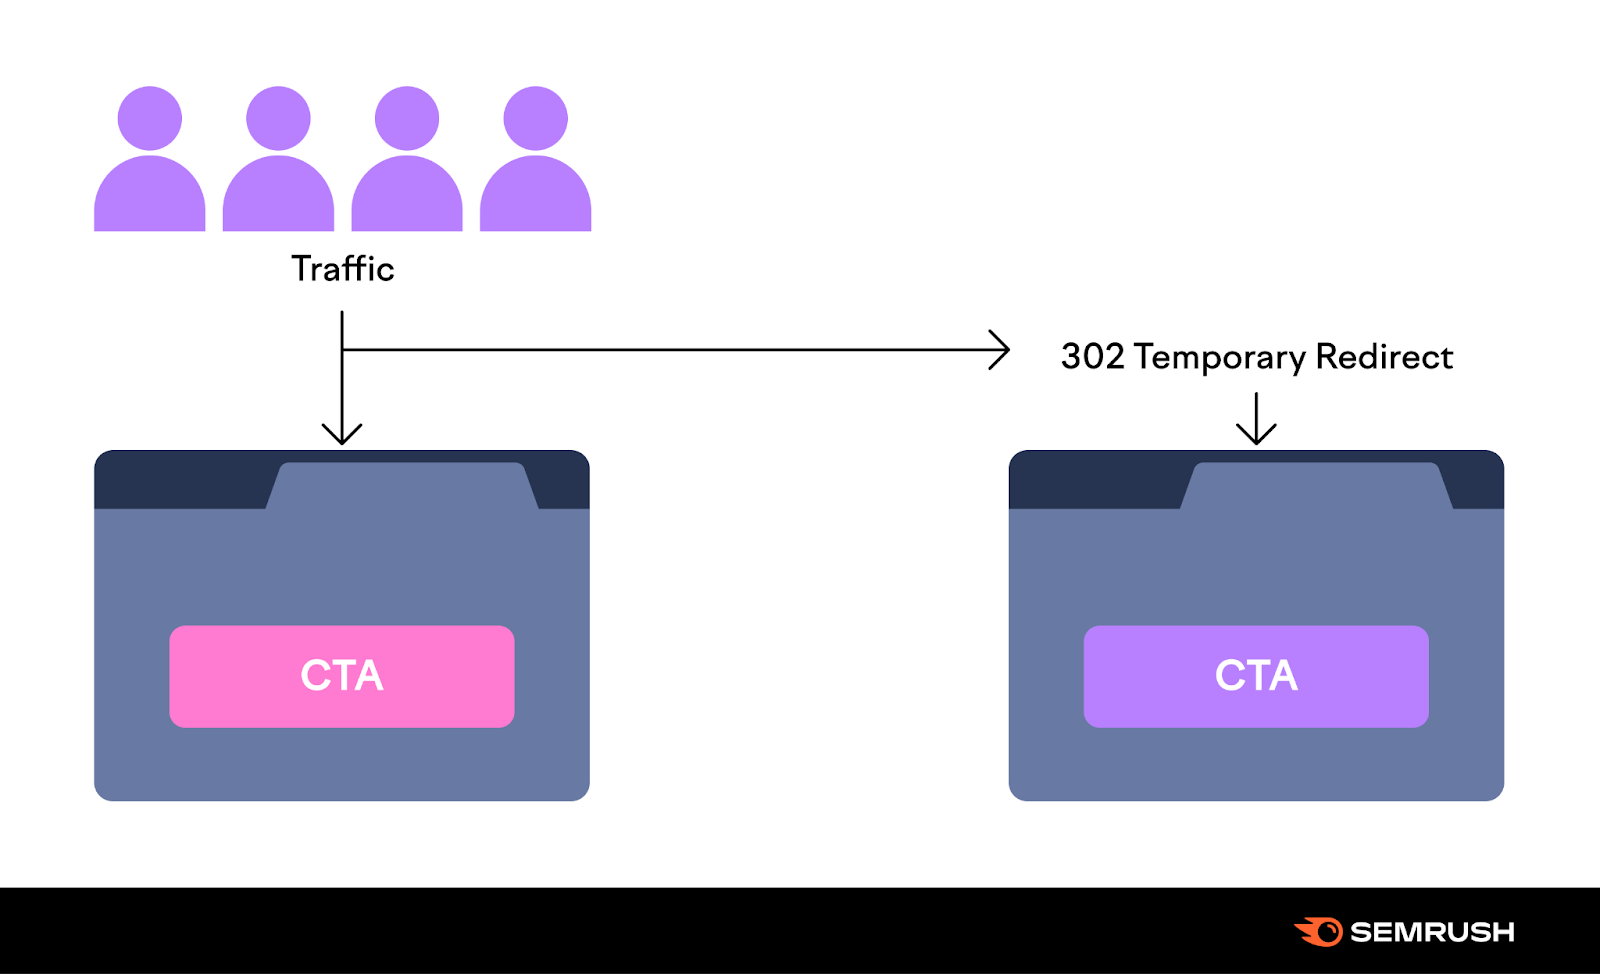
However, because 302 redirects are only temporary, search engines may not update the search results with the new link.
This means you need to keep track of your 302 redirects and remove them when you no longer need them.
How to Audit Your Redirects
If your site has redirects, you’ll want a fuss-free way to audit them and make sure they’re working as intended.
You can keep a spreadsheet, but spreadsheets can be tedious to manage.
Plus, if you forget to add a redirect to your sheet, you might forget about it (and forget to remove it if needed).
An easier way is to use Semrush’s Site Audit tool.
To start, go to “Site Audit” and set up a new project or click on the existing project you’d like to identify the redirects for.

Then, click the number beside “Redirects.”
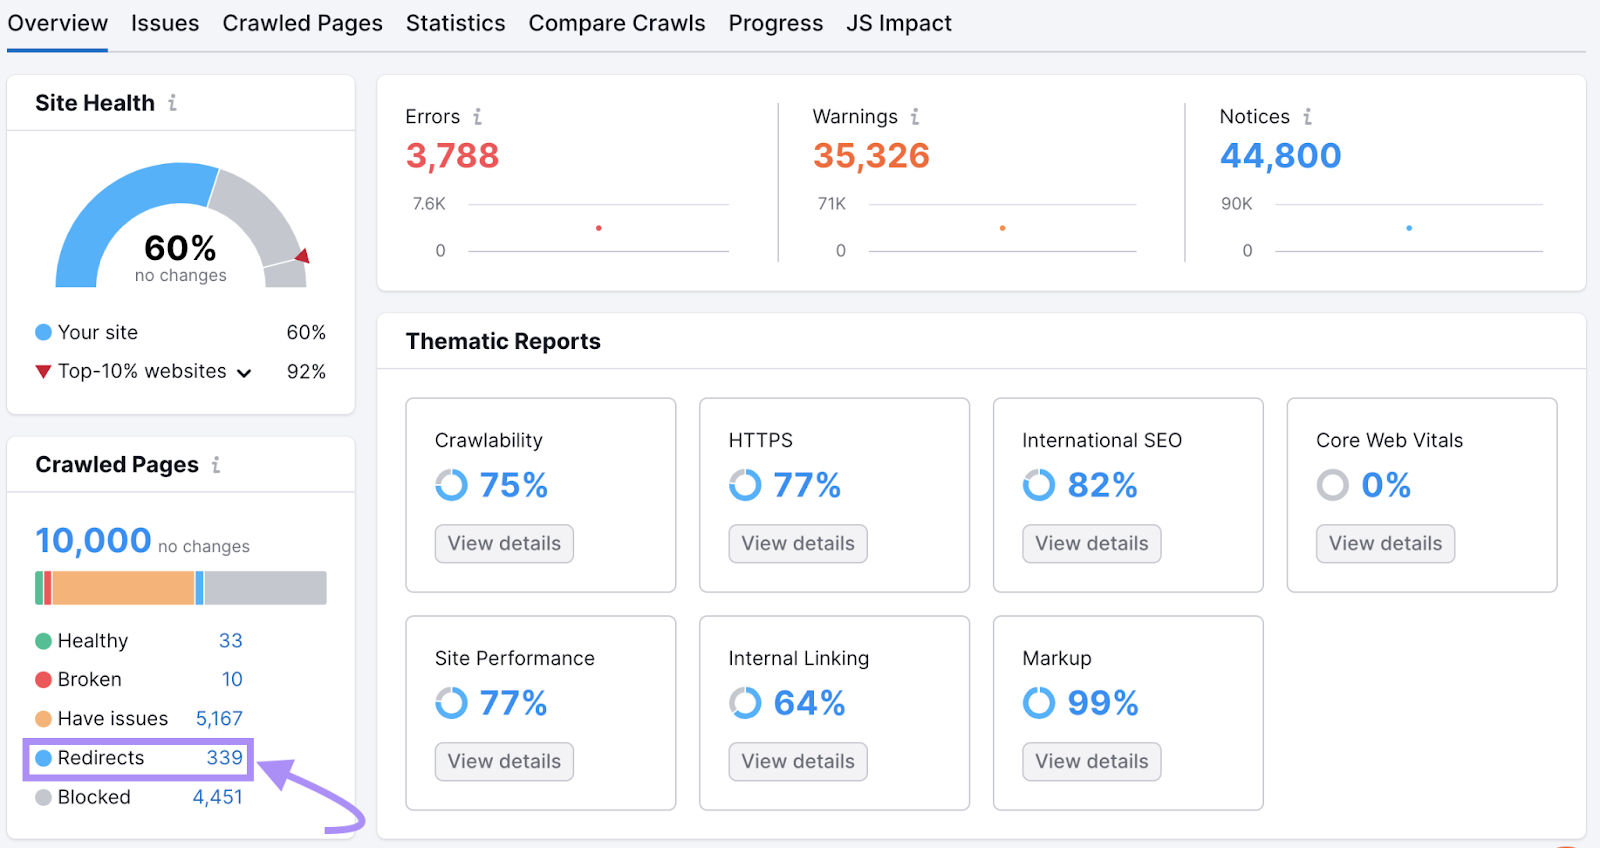
Here, you’ll see a list of the redirects on your site, where you can make sure each page has the right type of redirect.
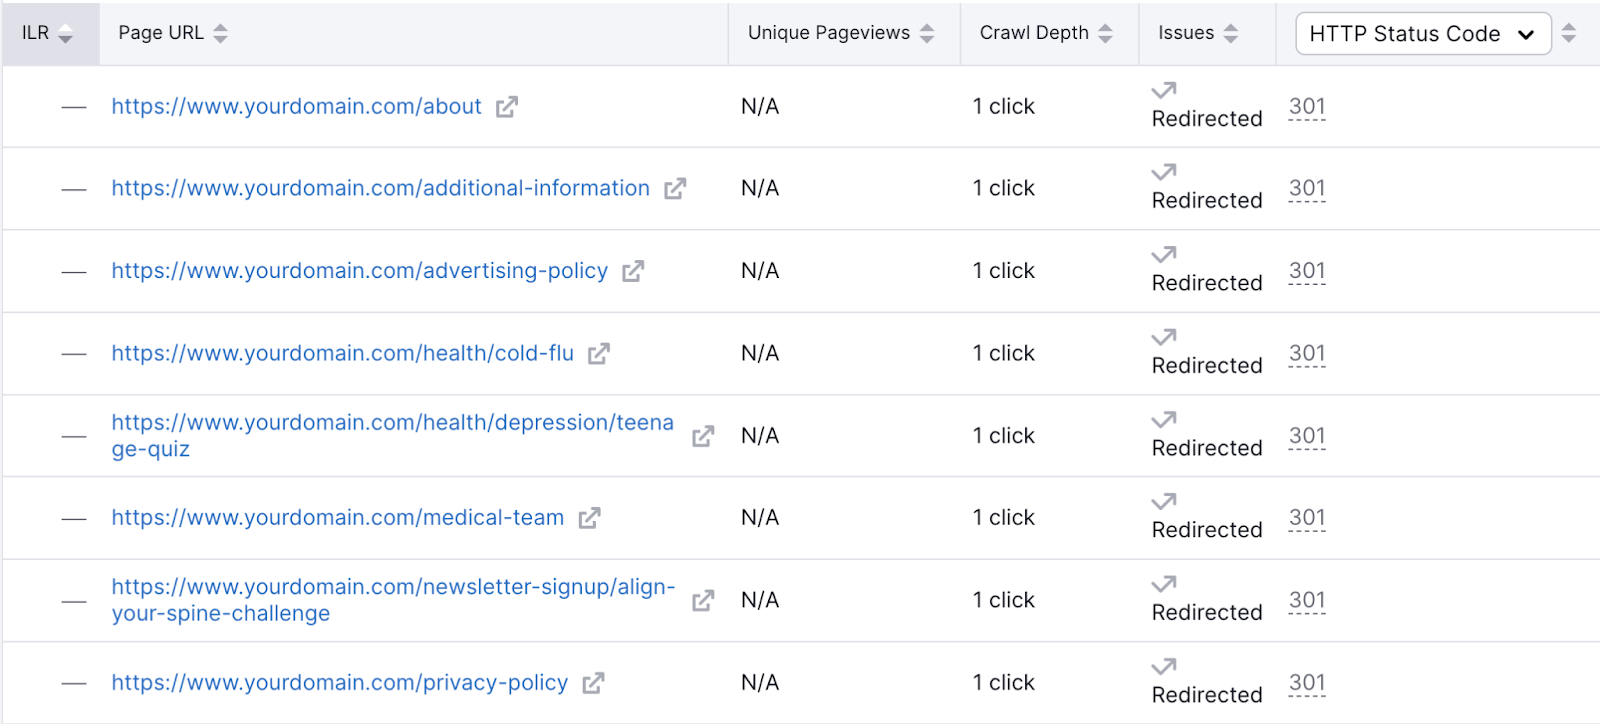
This report also helps you spot redirect chains.
Here’s how.
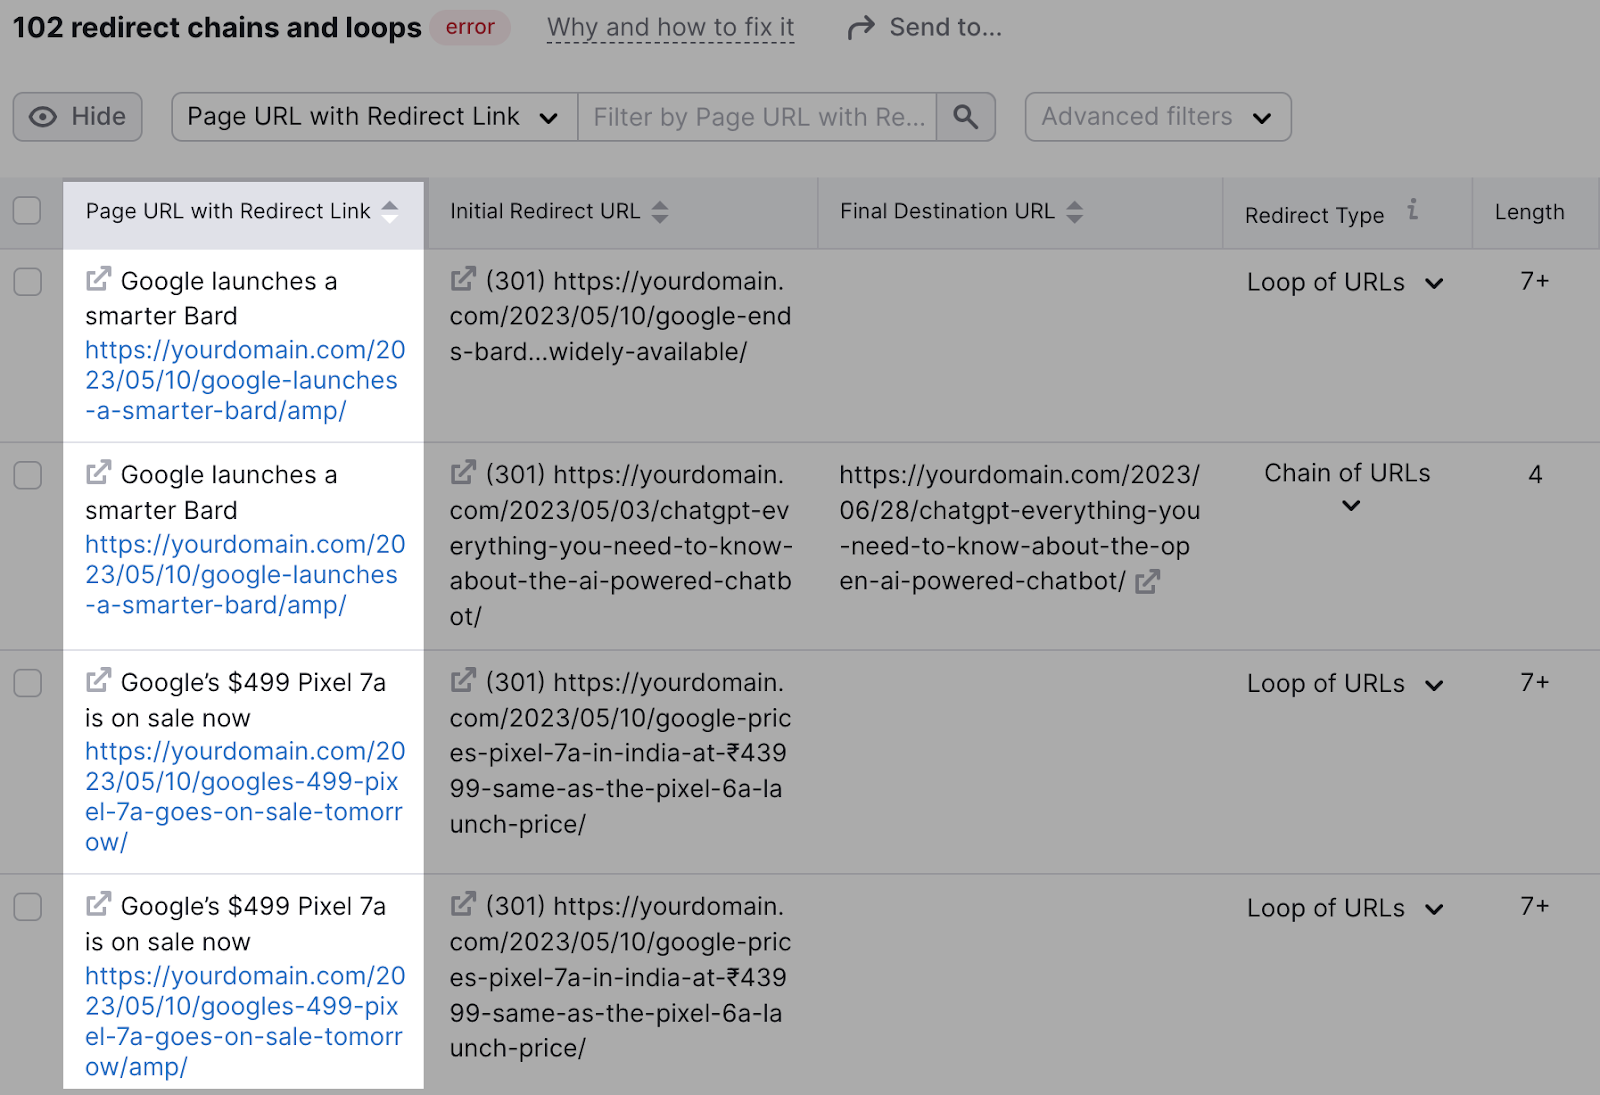
Under “Issues” search for “redirect chain.”

Click on “# redirect chains and loops.”

Use this report to identify—and then fix—pages with multiple redirects to give users a better experience on your site.
Using Semrush’s Site Audit tool, you can be confident that users always end up where they’re supposed to, without any hassle.
Source link : Semrush.com
